Life is full of compromises.
When venturing for a new apartment, I found a two bedroom one in an area I liked. The cupboards, however, were white, flat, and without character.
Boring.
For anyone who knows me, I am far from boring and always find ways to make life interesting.
With a little nudge of inspiration from my girlfriend, Anna, what I saw in front of me instead was a blank canvas.
Over the next few months I got to work and played with ideas, off and on, until I had something that I was satisfied with.
TL;DR
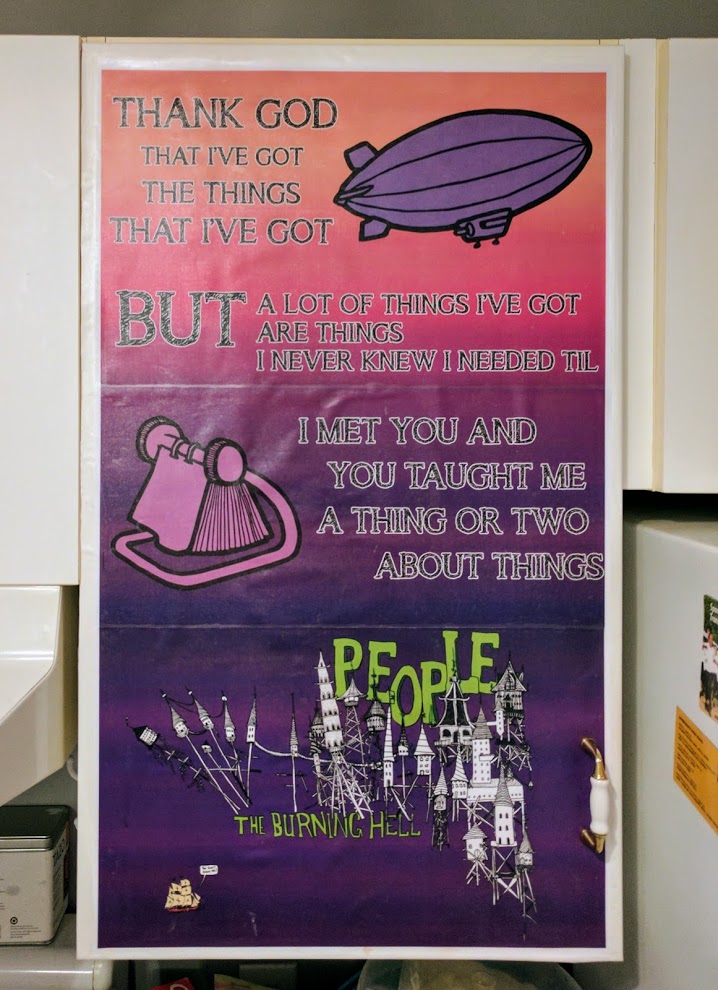
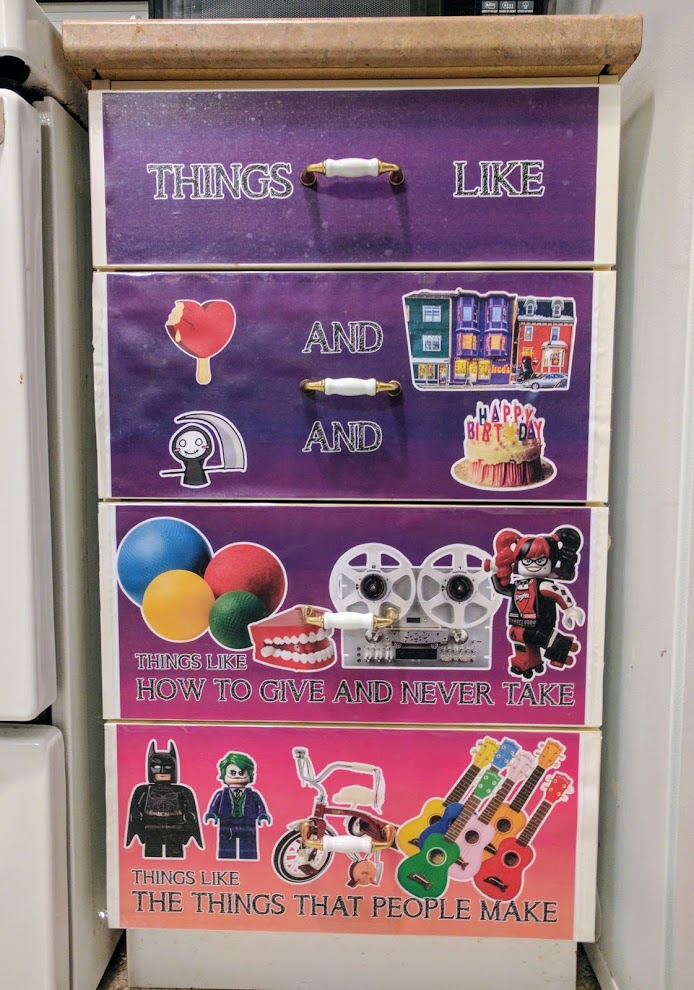
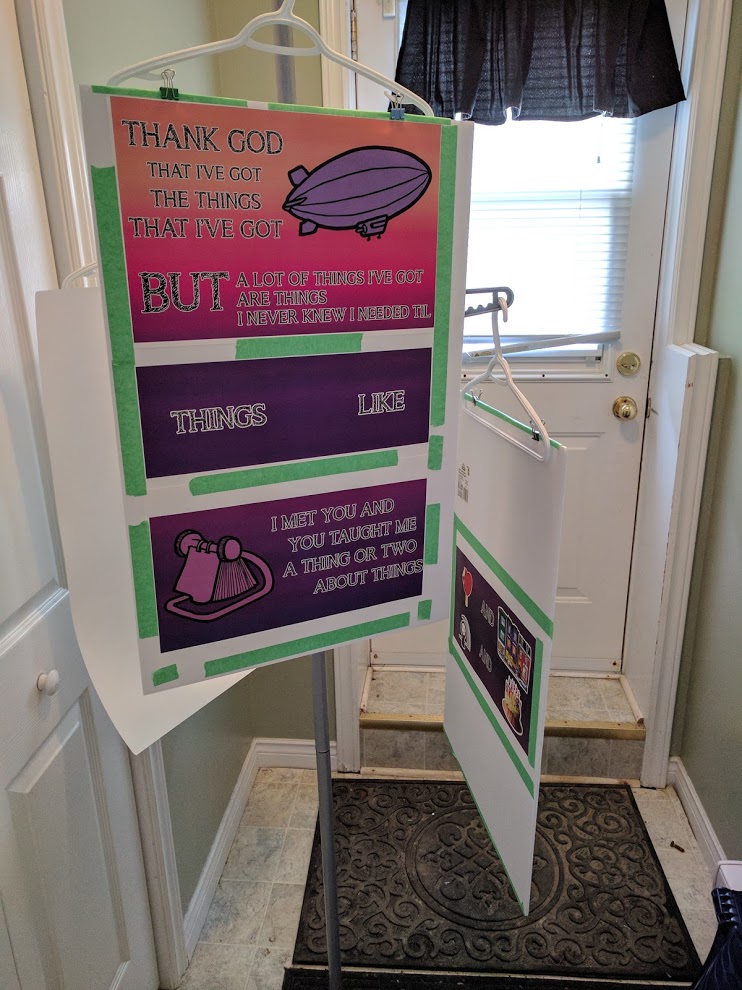
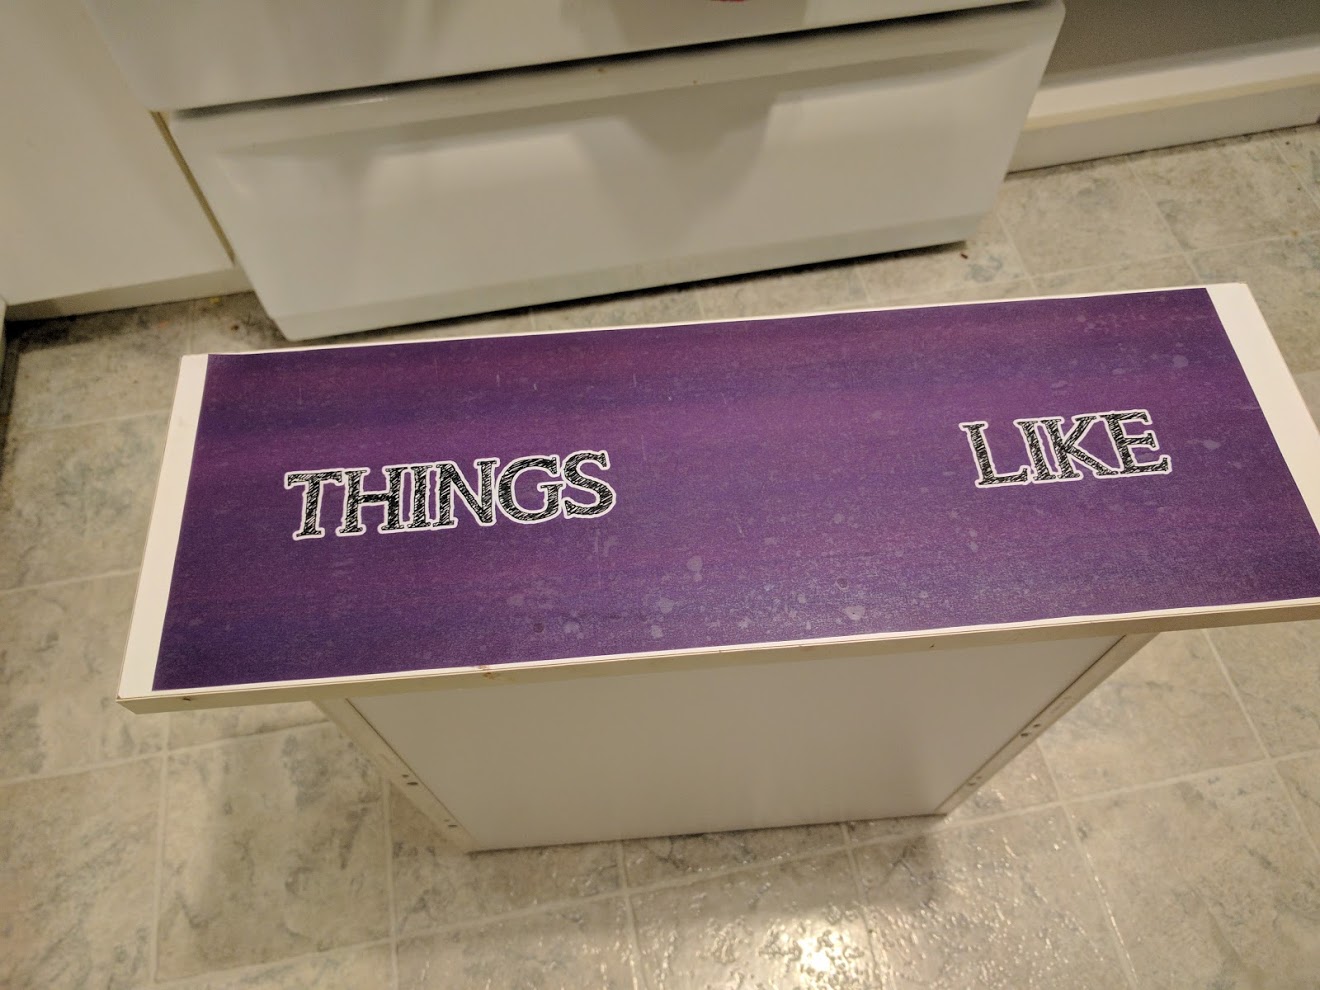
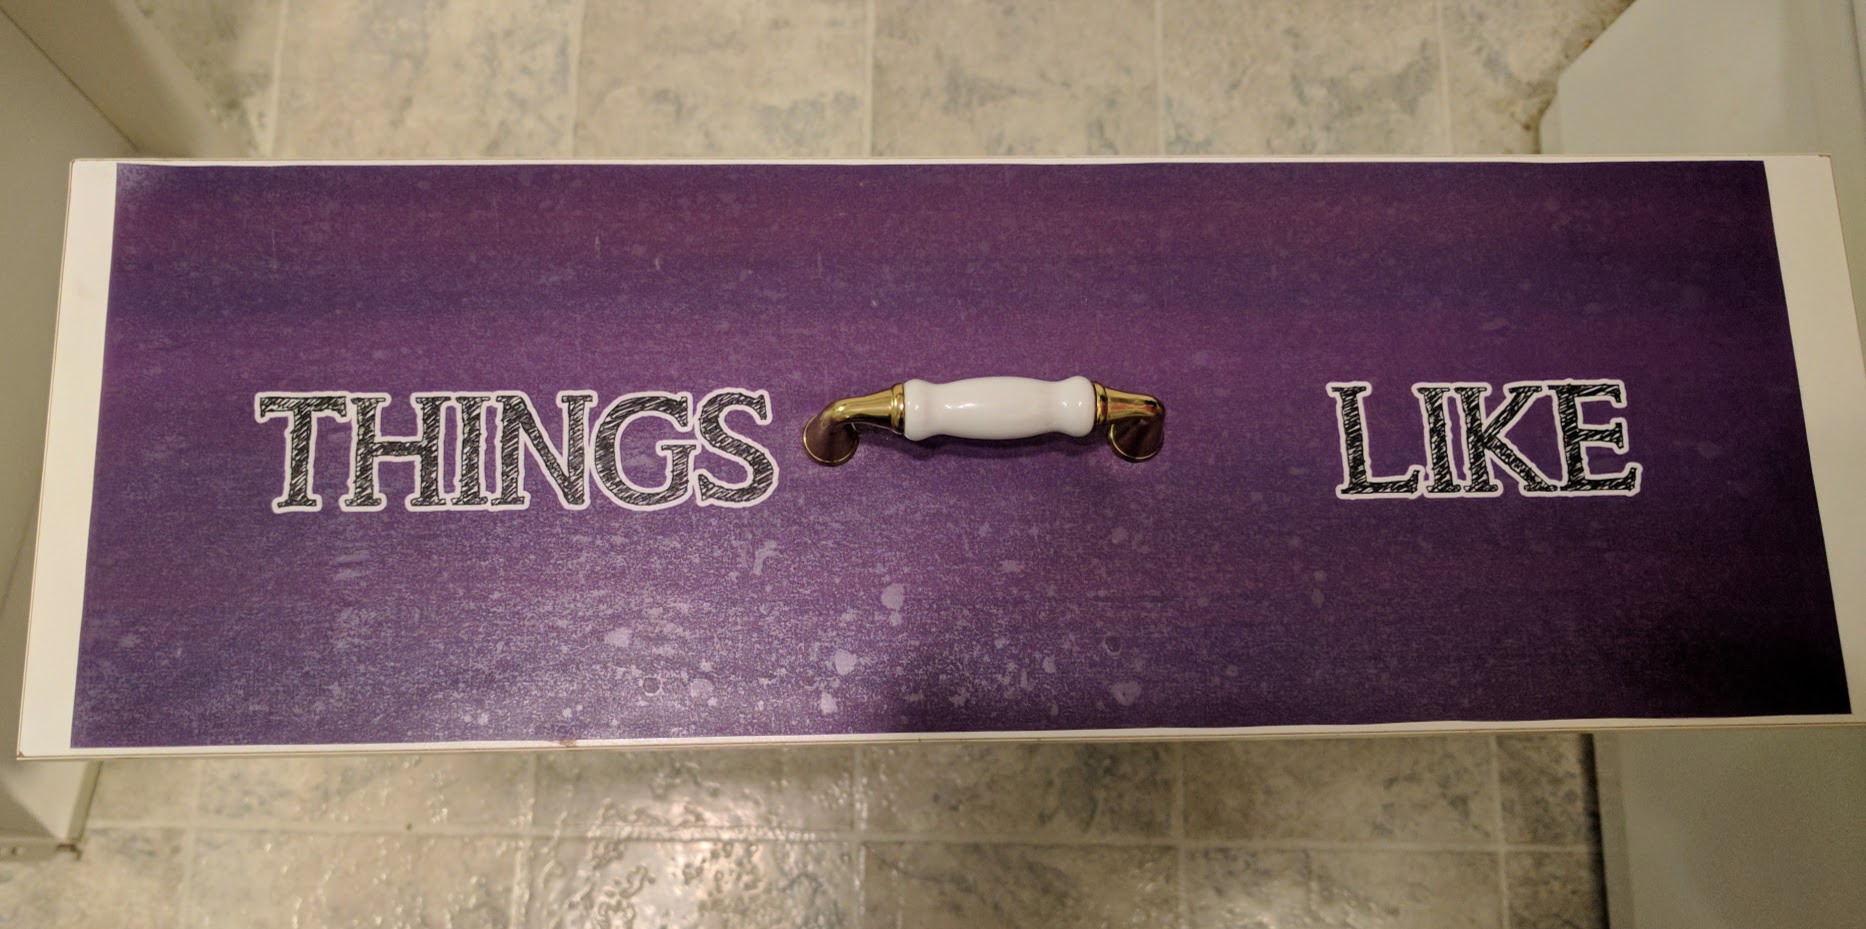
Before I get into the details, what is below is the final product on the first panel of what will be a full kitchen piece.
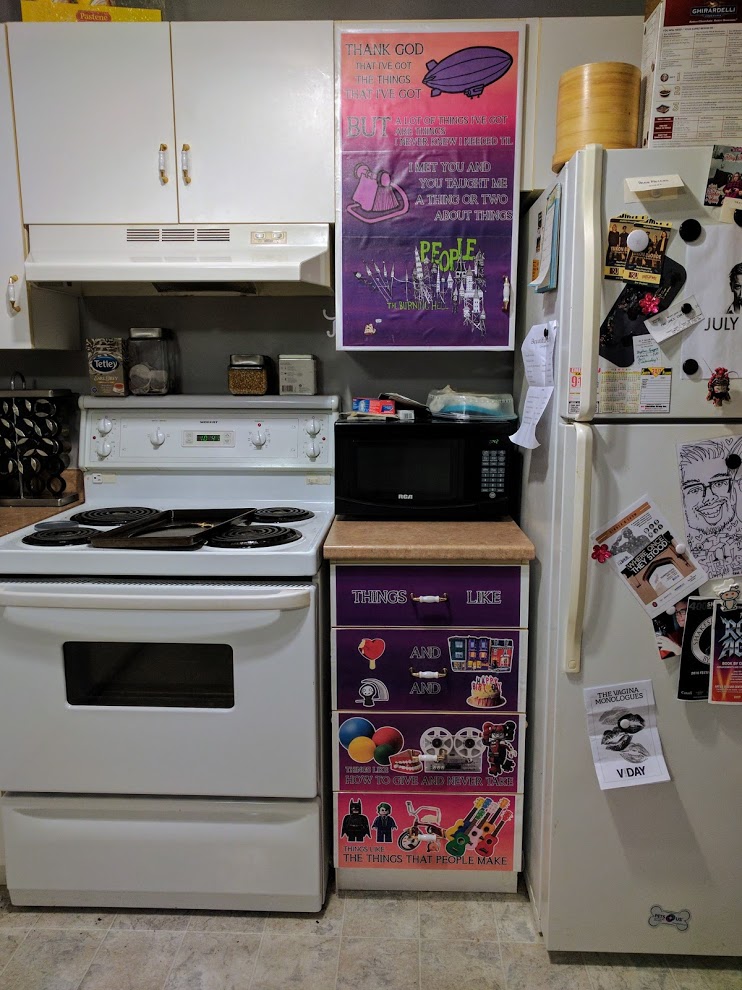
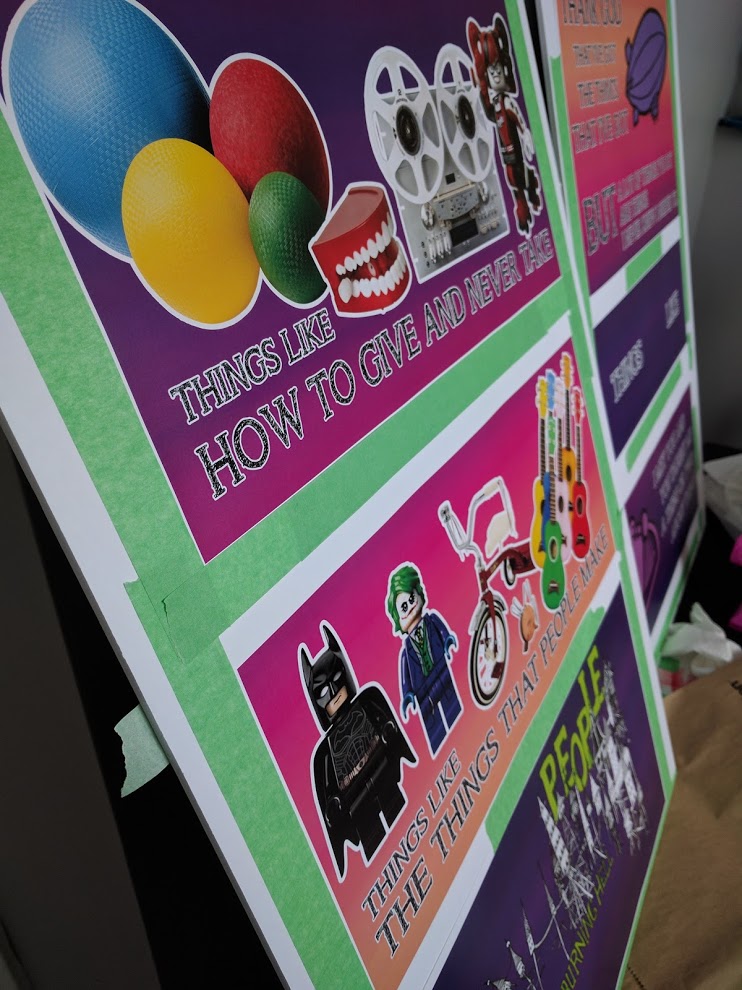
Music is a huge part of my life. While not musically inclined myself, I find great joy in hearing what others create. There’s something comforting about being able to associate your current mood and feelings with a sound. It can transport yourself mentally. As it is ubiquitous in my life, I chose it as the theme for my cupboards.
The intricate stories from The Burning Hell typically take abrupt, humorously depressing turns. Blimp Rock’s songs pay a similar attention to detail to their lyrics, having a familiar quirk to their music.
As I feel both bands have a similar quirk, I thought it was fitting to combine them in one art piece. This piece incorporates images from I Love The Things That People Make, lyrics from The Things That People Make, Pt. 2 (one of my favorite Burning Hell songs), and images from Blimp Rock.
Goals
Cheap.
I’m living in apartment and have a tendency to move every couple of years. Whatever I create will be custom and temporary.
Non-destructive.
The apartment cannot be damaged in any way and no residue can be left behind.
Meaningful.
The artists
Over the past couple of years my music taste has found a home in indie music. Not only does it appeal to me audibly, but I prefer small venue shows as opposed to stadium shows. It’s a much more intimate experience when dancing away to a band’s tunes when they’re not a speck on the horizon.
I met Mathias and Ariel before a show in February 2016, without realizing they were in The Burning Hell. It was a Valentine’s Day gig, where they played songs from Don’t Believe The Hyperreal. Their timing was spot-on, graciously allowing the crowd to breath catch their breath between laughter (read: frequent side workouts).
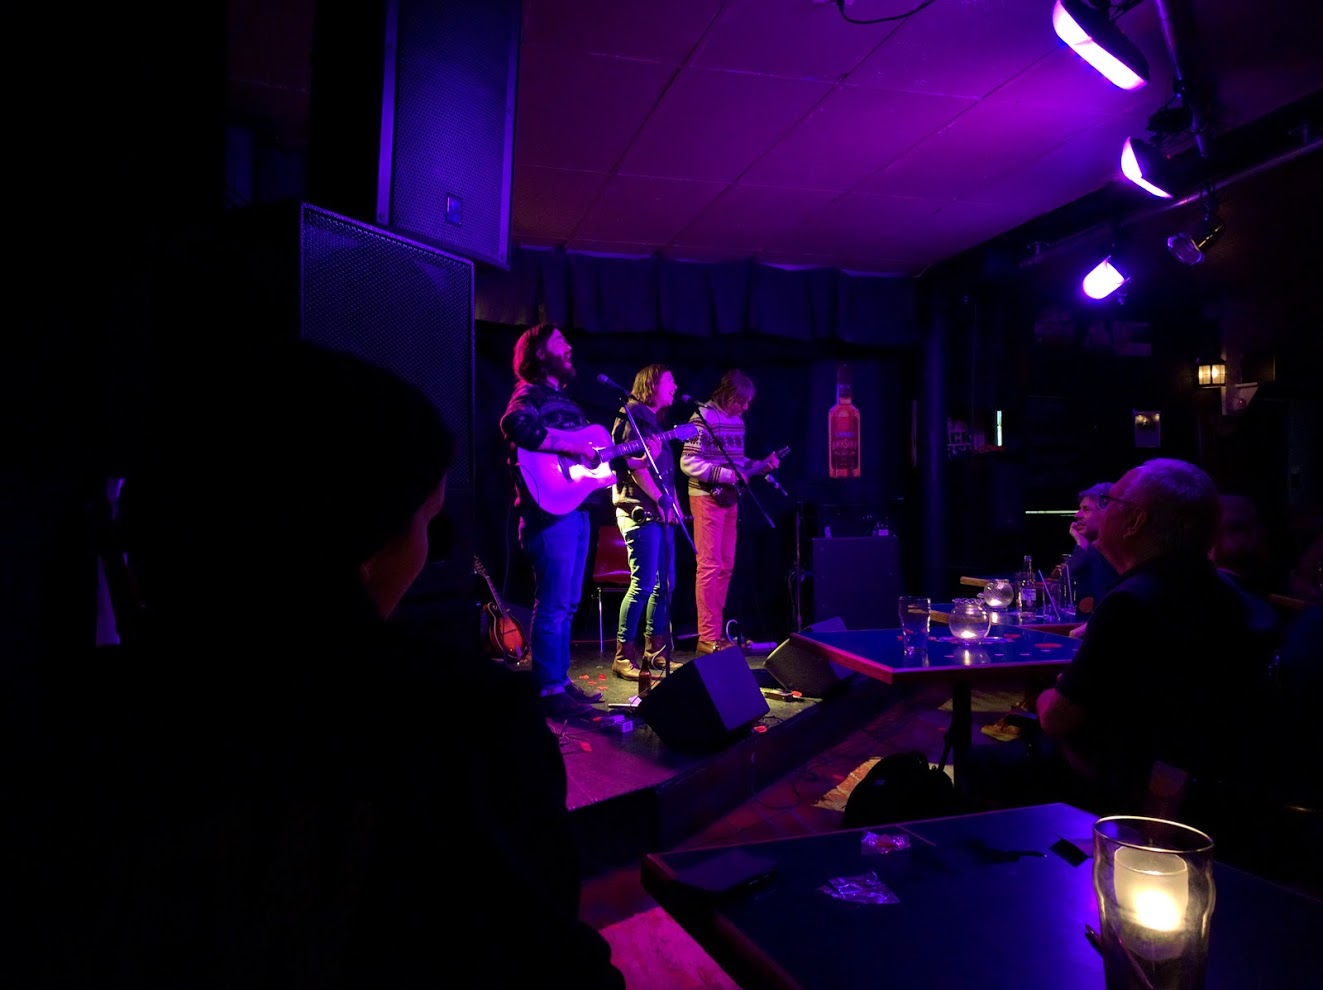
I came across and met Blimp Rock at Lawnya Vawnya 2016, a 5 day indie music festival in St. John’s, Newfoundland. Anna initiated the entire crowd sitting down on the floor of The Ship with Peter Demakos for Sensitive Boys. You only live once, as they say.
Off stage they are also a kind and fun group. Knowing that makes listening to their music even more enjoyable.
Process
I experimented with a few different combinations of this process, but what follows is what gave me the best results.
Design.
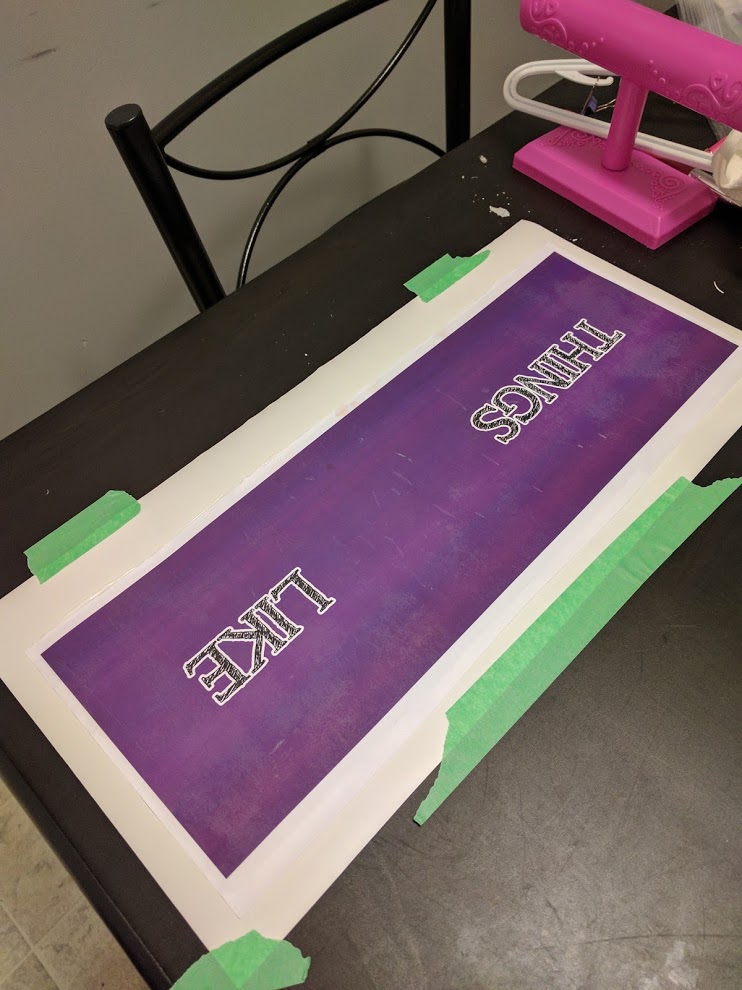
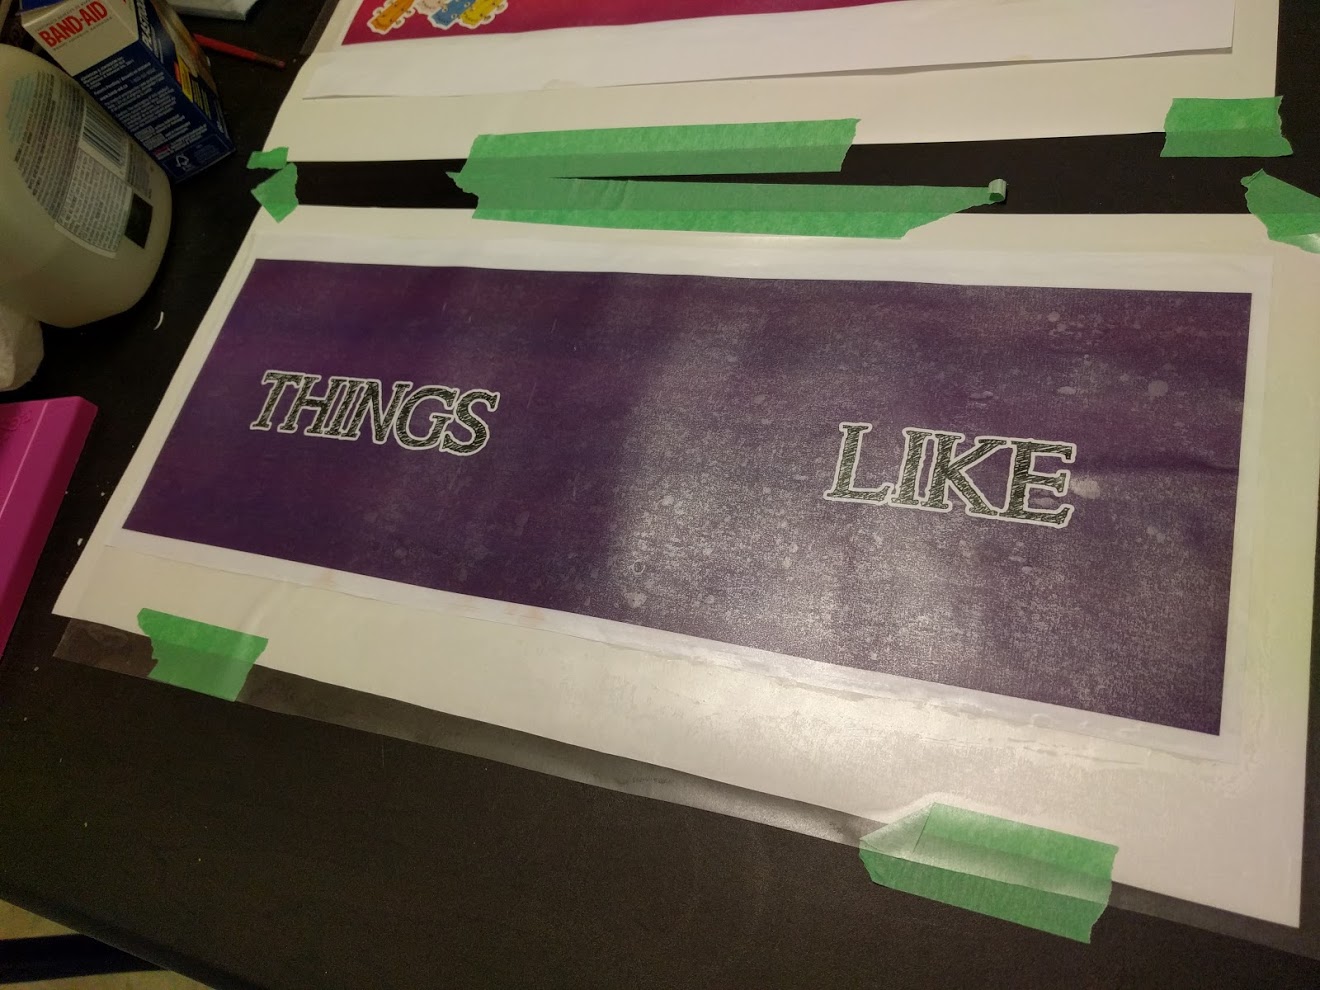
Completed in Photoshop. I measured my drawers and cupboard and created canvases accordingly. It was more cost effective to print it out on multiple pages, so I chose a background with a gradient and noise so the joins would be less noticeable.
Print.
Printed at Staples. I split the cupboard design into 3 11x17” segments.
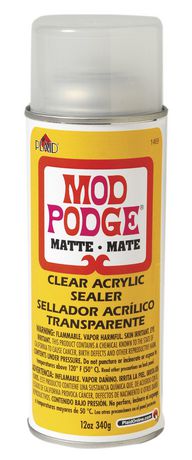
Coat with spray.
To prevent ink from bleeding when applying the prints to the Con-Tact paper (next step), I applied 6 coats to both sides. In my experimentation, I found that both sides were necessary. The can recommends 4-5 coats, but I found 6 worked best.
I taped my prints to foam boards with some painter’s tape I had lying around (to prevent warping) and sprayed them in a well ventilated space.
During the first spray I mistakenly hung the boards up, leading to some ink running.
For the remainder I kept the boards laying flat on some chairs (no pictures of this).
Adhere to Con-Tact paper
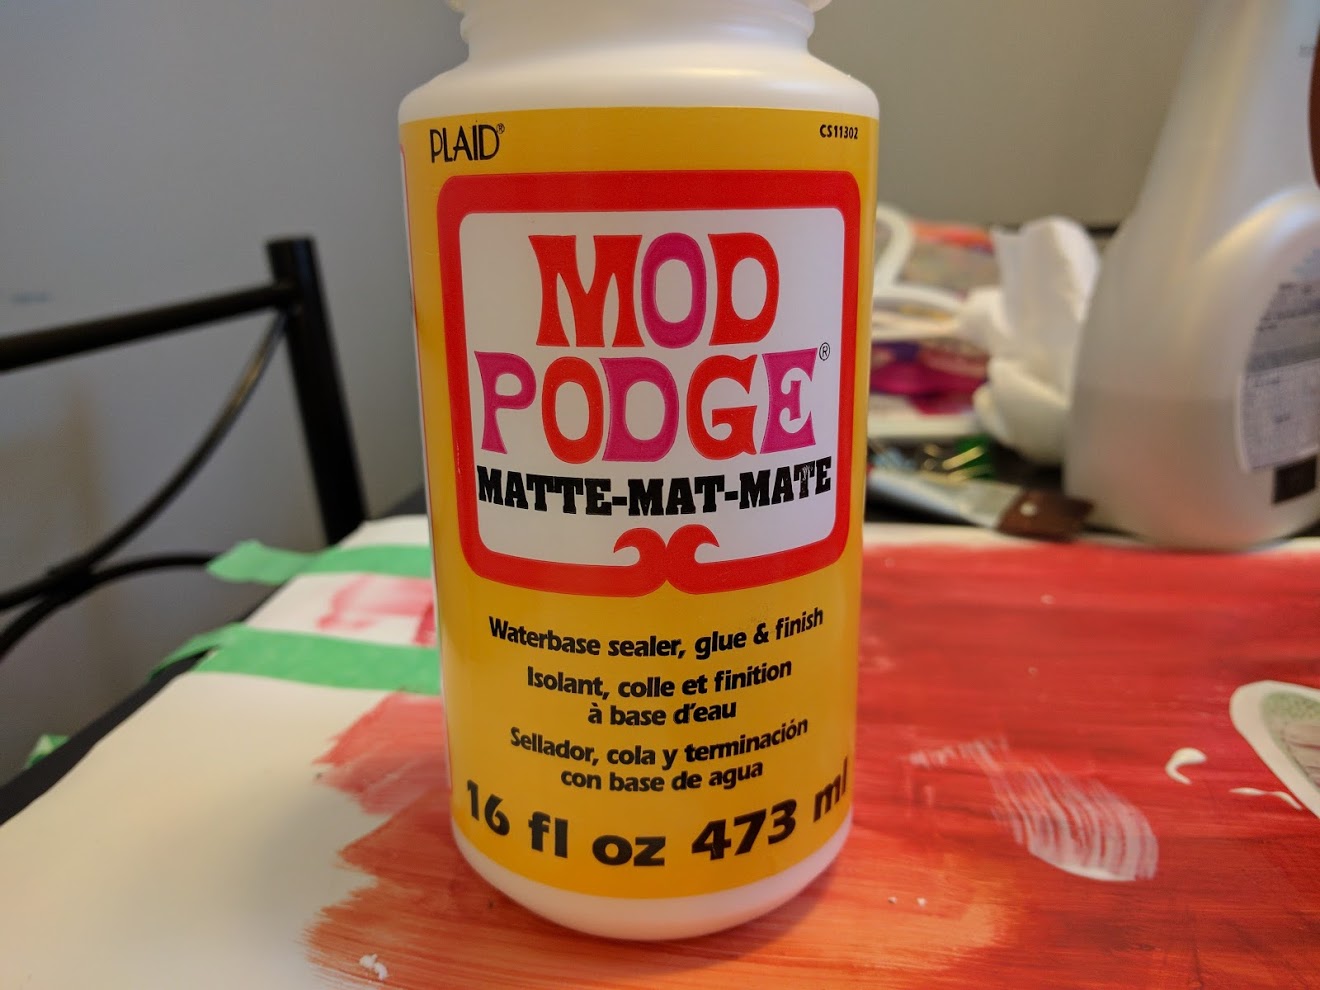
I taped the Con-Tact paper to a surface so it did not warp when drying. Following this, I covered the surface in liquid mod podge and then the back of the piece. I then laid the piece atop of the paper and used my handy-dandy Memorial University ID card on a 45 degree angle to press the piece the paper. Starting from the center and pushing outward was the routine that worked best. I started with low pressure until I worked through the entire piece and then increased the pressure on subsequent rounds until all air bubbles were removed. I left it alone until dried (~30 minutes).
Cover with clear Con-Tact paper
I wanted to protect the piece in the event of spills, so I covered it in clear Con-Tact (using a card to remove bubbles). It adds some fogginess to the piece, but from afar you can’t really notice.
Apply to final destination
I removed any hardware and then cleaned the surface of any dirt and grease that would prevent the paper from sticking.
I removed the backing from the Con-Tact paper, lined it up on my surface, and patted it down with my fingers in a few areas so it wouldn’t move. I then took my card to it to flatten it down. I found that this part was much more forgiving when removing air bubbles.
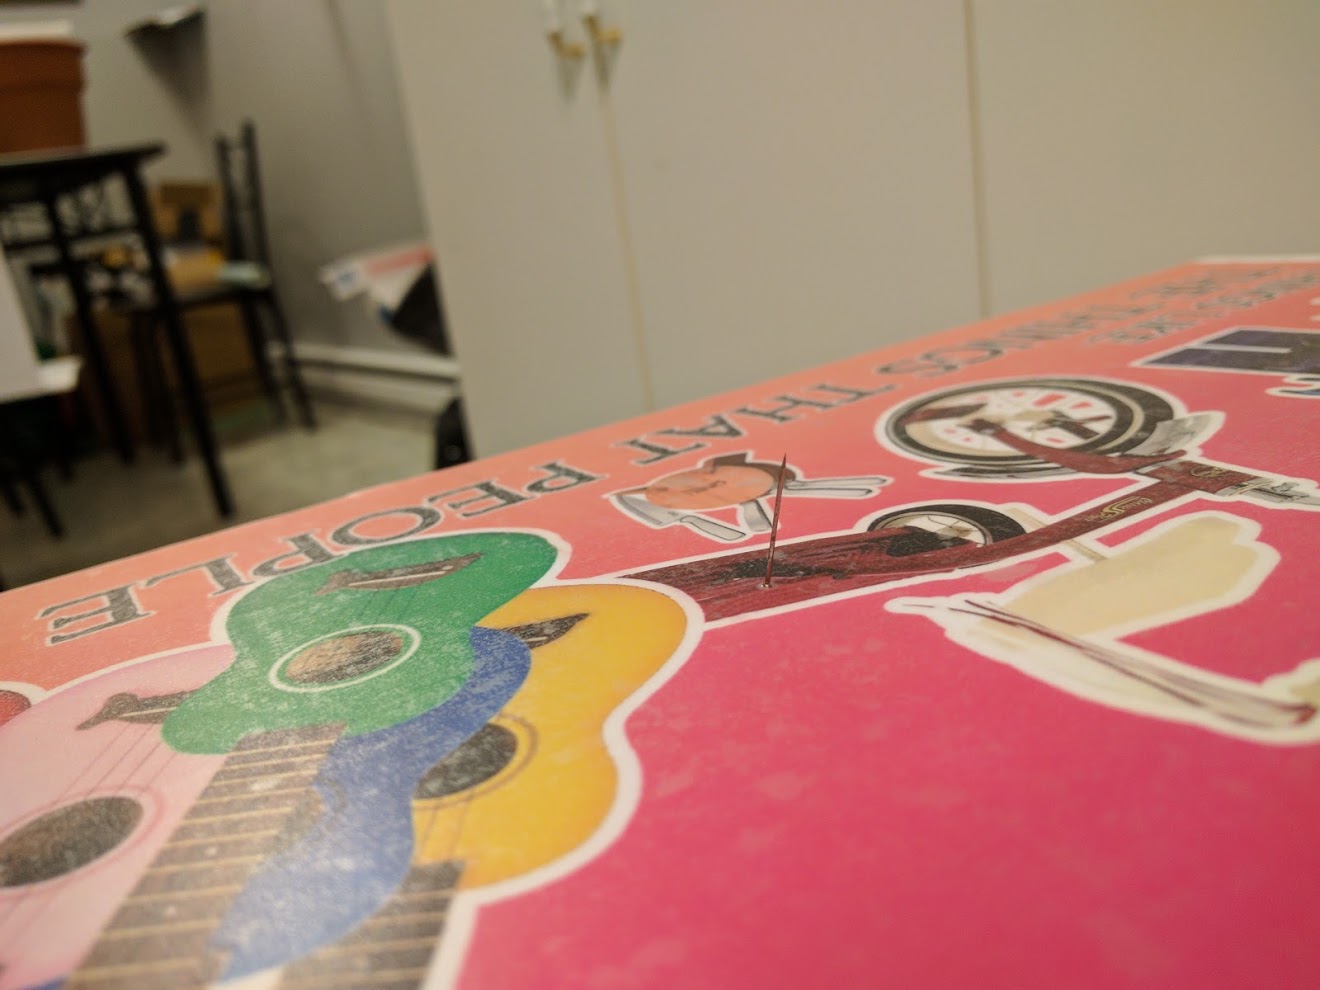
I poked a hole through the hardware holes with a pin, used a sharp knife to cut an “x” into the pin hole, and pushed the screws through and put on hardware.
After a few hours/days, I noticed some edges peeling off. I applied packing tape along the edges. It doesn’t stand out as much as I had thought.
Cost
Mod Podge Matte 8 oz - $9.97
Mod Podge Acrylic Sealer Matte 12 oz - $9.97
Clear Con-Tact Paper - 18” x 24’ - ~$8.00
White Con-Tact Paper - 18” x 24’ - ~$8.00
Printed designs - 7 x 11x17” @ $0.89 - $6.23
Foam board - 2 @ $1.50 - $3.00
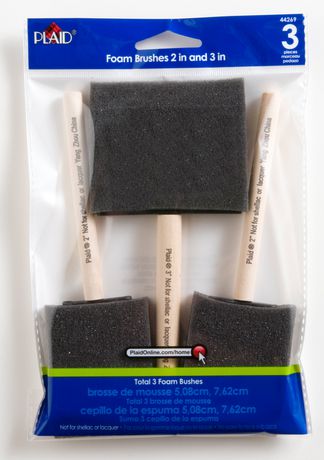
3 Piece Foam Brush Set - 2” & 3” - $1.25
Total: $46.42 (before tax).
What’s next?
I still have more canvas to work with! So I’m getting to work on extending this with other artists who produce music with a special significance to me (catl, July Talk, Arkells, Said The Whale, and more!).
Stay tuned!